
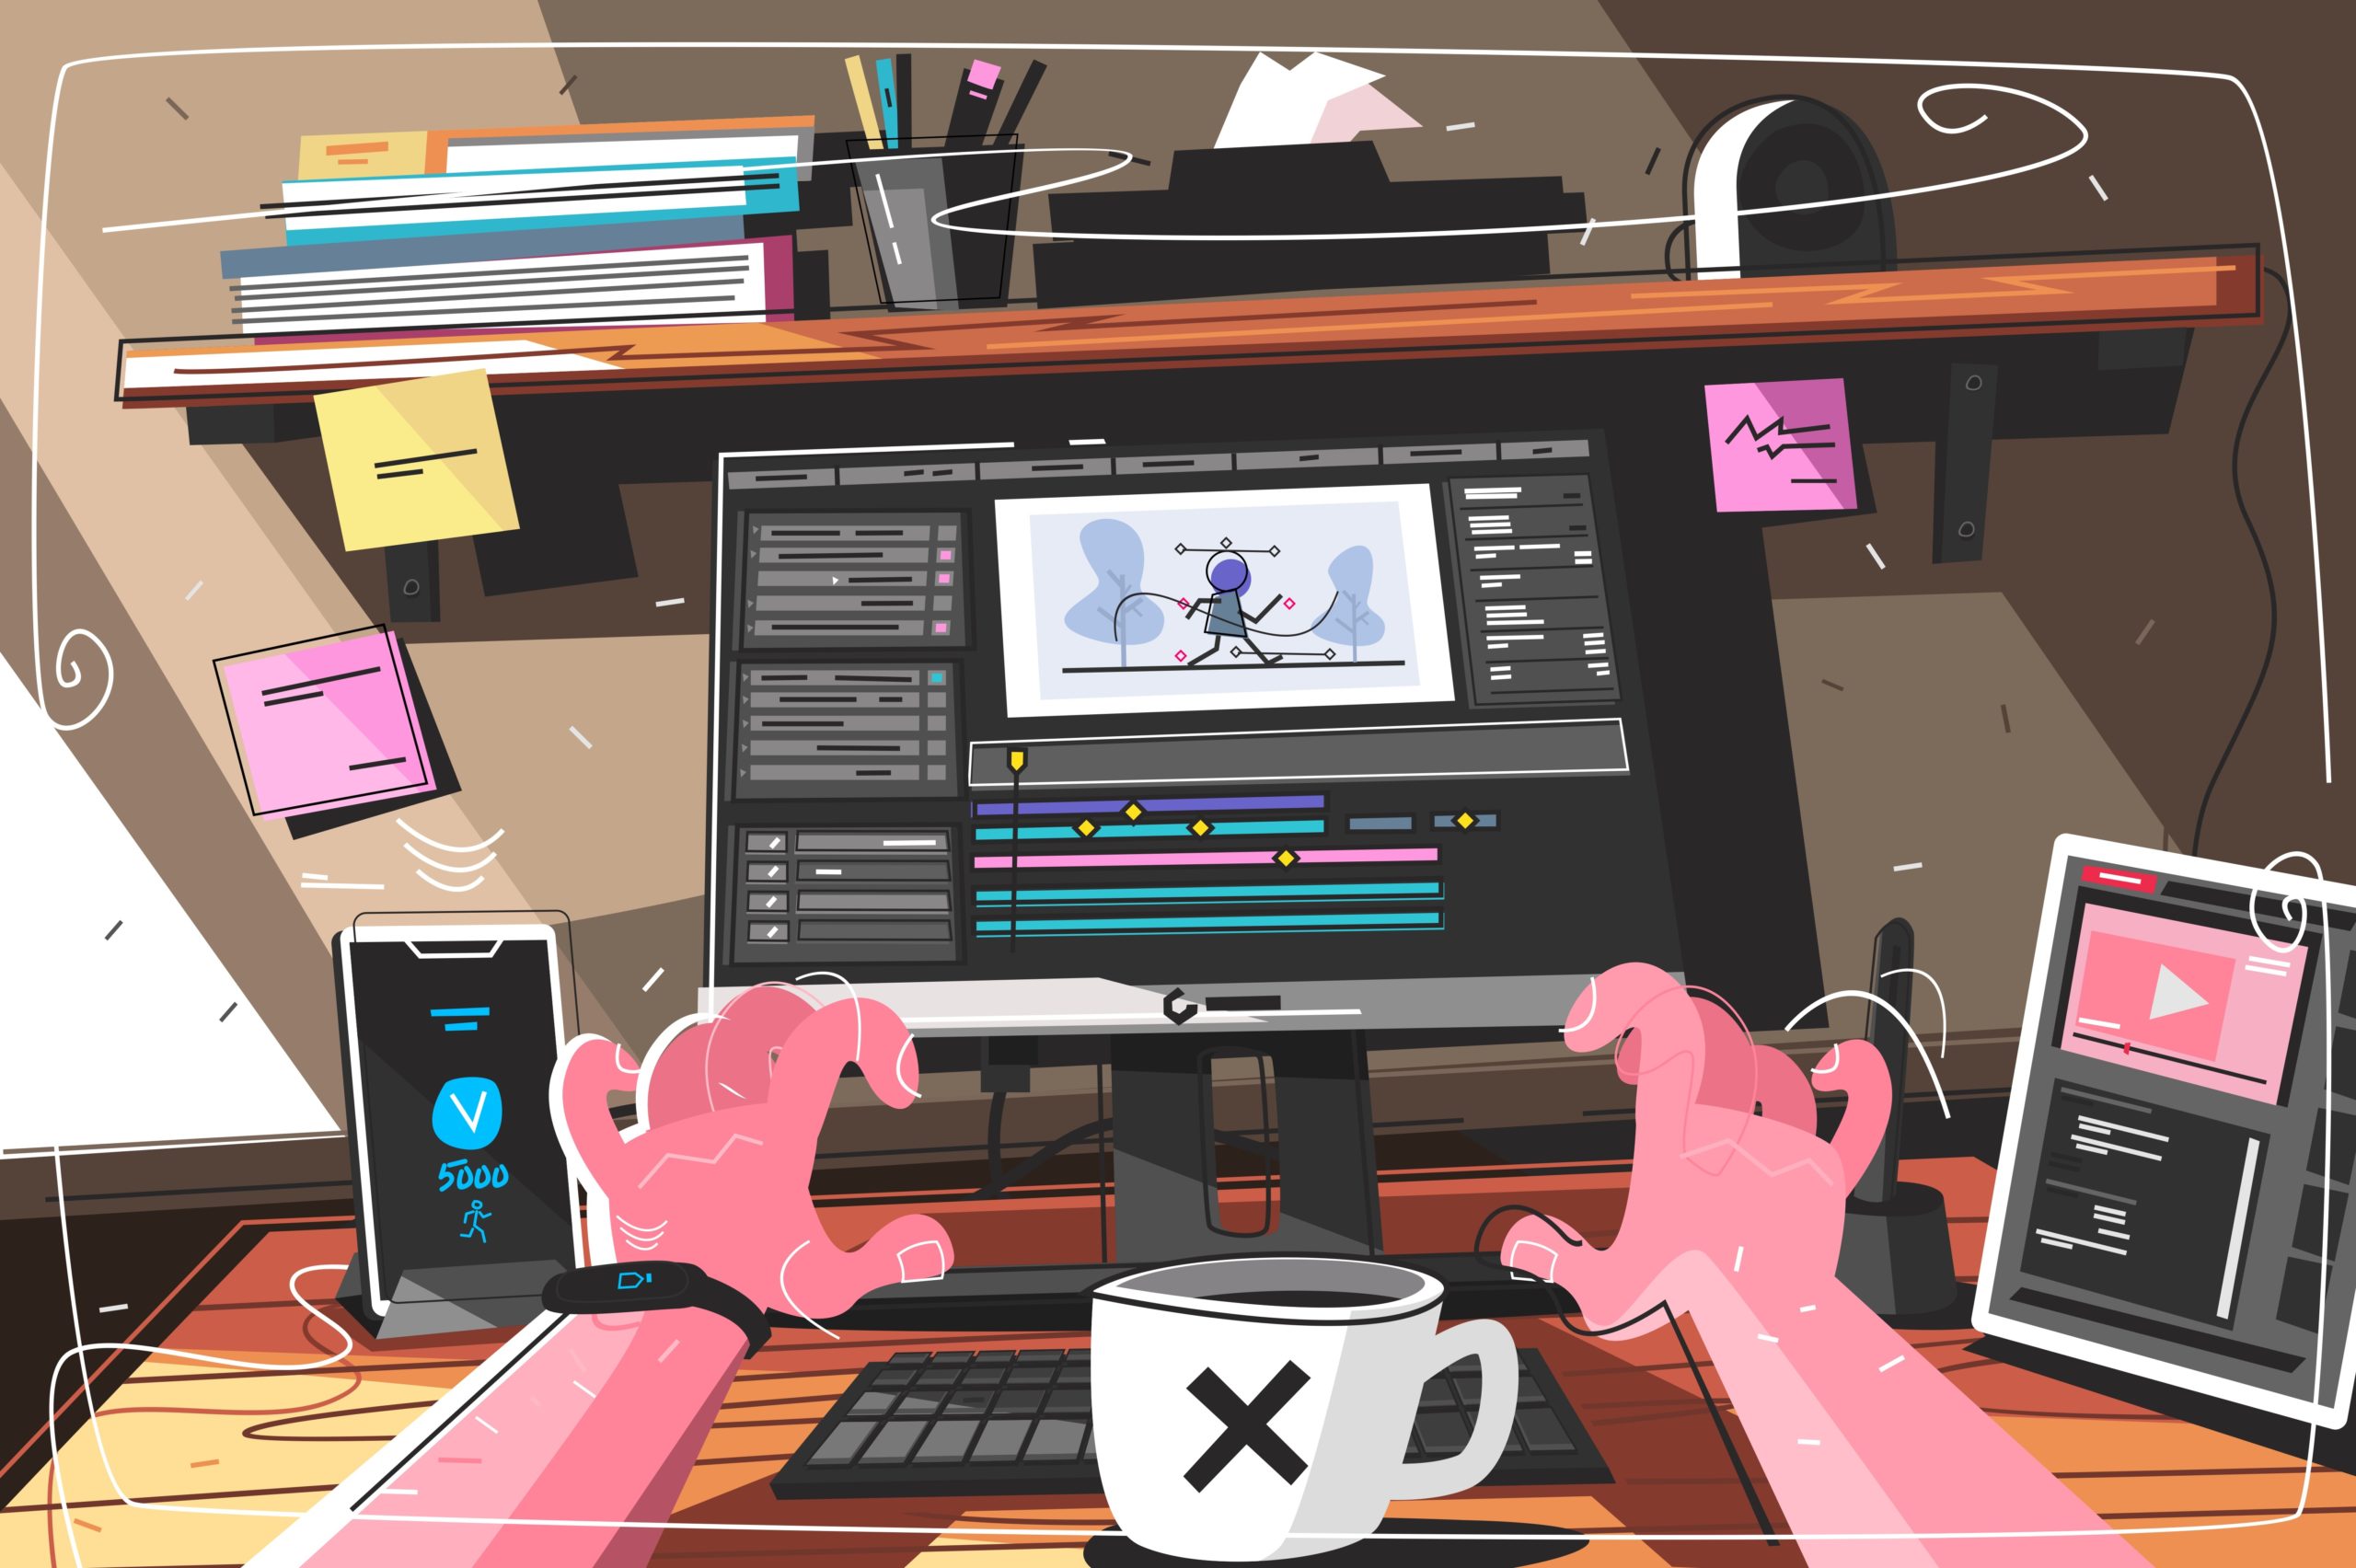
6 Home Video Studio Equipment Hacks – Setup For Any Budget
You can make a cheap home video studio on a tight budget and still manage to make killer content. You don’t need high-tech equipment to gain views, just a list of some home video basics to get your videos filmed and uploaded.
YouTube has been around for a long time, and it’s constantly gaining more and more customers as it gains popularity. It’s one of the most used apps worldwide, and for a good reason.
You’ve probably spent far too many hours (as have I) watching videos on YouTube and at some point, you’ve asked yourself, “Could I make such videos too?”
Luckily, making YouTube videos is a perfectly reasonable dream. Most YouTubers start filming and adapting from their home video studio. Home video studios are easy; production can be done in one room corner or in front of a room wall.
Get some basic video equipment like cameras and editing software – and you are all set. None of that expensive home video studio equipment to gain views, just some quality content. Don’t let money stop you from making your dreams come true because a is doable without the fancy equipment too.
I’ve put together a list of video making equipment; everything to make your videos and the rest of your content look more professional while staying within the budget.
Want to get more blog subscribers and build your fan base? Download my free guide "Get Your First 100 Fans" Click here to get the guide.
Table of contents
Home Video Studio: The Setup
Home Video Studio Cameras
Home Video Studio Tripod
Home Video Studio Lighting
Home Video Studio Microphones
Choosing Editing Software
Setting Home Video Studio Background
Home Video Studio – Pro tips
Home Video Studio: The Setup
Before you build your home video studio on a budget, make sure you understand what your YouTube theme is and how that affects your studio setup. If you have asked yourself:
How can I make a cheap photo studio at home?
If you’re a vlogger with a camera everywhere you go, then you don’t need a studio. Are you a gamer who enjoys streaming epic wins? If that’s the case, you already have a studio. It’s your PC!
If you make videos about story times, DIY projects, or something where you don’t have to move around a lot, then a home video studio is most likely something you’ll need. First, find a space that’s easy to set up every week. If you have an extra room, a guest room – even better.
How do you make a home video studio?
Make sure your space is big enough to set up something as big as a chair, has a good background, and doesn’t look too crowded. Viewers prefer a space that feels cozy and safe, not cluttered or cramped. Apart from that, you don’t need a powerful set, just the right one to hit it off.
What will you need for your home video studio?
What equipment should you get for videography?
- Cheap home video cameras
- Tripod
- Lighting
- Microphone
- Editing software
- Background
Home Video Studio Cameras
When you are just starting out as a YouTuber, the camera is your most valuable piece of home video studio equipment. There are many options out there and a good camera can be expensive.
But you’d be surprised to learn that there are a lot cheaper options that will serve you well. You’re just starting out and a regular camera will do. Also, there are plenty of second-hand cameras out there who seek new owners. Be smart, bring someone with you to check out the equipment if you’re not comfortable recognizing potential fraudsters.
Home Video Studio Hack Option: Smartphone
Your home studio set should consist of a camera before anything else. A smartphone is one of your best bets if you want to keep it simple. People are on their smartphones a lot more than they are on their computers. You already know how to use your smartphone, so you don’t waste time learning, plus you can save up on space.
If you have a solid smartphone, you can absolutely use it for your videos or podcasts and produce great content.
In fact, with an up-to-date smartphone, you don’t have to worry about the quality of your camera lens; lenses these days on smartphones are not that different from a camera that will cost you a couple of hundred dollars more.
Home Video Studio Hack Option: DSLR

If you don’t want to use your smartphone’s camera, then DSLR is your second option. DSLR stands for a digital single-lens reflex camera. This is a lot simpler than it sounds. Basically, there is a mirror inside that reflects light from the outside into the lens which then sends it through a prism. This creates a more real-time picture and video.
The DSLR doesn’t only take good pictures: there are hundreds of features to fit your needs. With a DSLR set apart from the outstanding image quality, you have higher light sensitivity, bigger field control, shutter and focus speeds, and a variety of lenses to choose from.
Of course, if you are going to buy a DSLR camera, you can expect it to be more expensive considering you probably already have a smartphone. Either way, both options work well. Let your wallet decide.
Home Video Studio Tripod
A lot of times tripods can seem unnecessary and honestly, sometimes they are, but if you want your videos to look more professional and steady, then you definitely need one! Basically, a tripod is a home video essential that prevents camera movement and it will make your life a lot easier when filming. Now, there are a lot of options out there. Some will cost you hundreds of dollars, while others only cost around 10 bucks. As a beginner, there isn’t a call for some expensive tripod made of shining gold.
Home Video Studio Hack: Boxes/Shelves
You can go with the classic tower of boxes or, as I like to call it, the please-don’t-fall-while-I’m-recording-tower. Shelves also work and the risk factor is way lower. Part of building your budget home studio is looking to see if you already have something you can use at home. If you have some shelves, empty them for your equipment. If not, here’s a little secret.
Back when I was starting out, I used to put a chair on top of a table and then books on top of a chair to get the right height. It worked fantastically well. Why spend money if you don’t have to, right?
Home Video Studio Hack: JOBY GorillaPod

When looking to buy an actual tripod, there are a lot of options you can choose from. My favorite and by far one of the most popular options is the JOBY GorillaPod. At first, you may think that this tripod is better suited for vlogging and moving around a lot. While that is true, it’s also amazing to use it in your home for the purpose of your videos, making it a multi-use tripod.
If you feel like picking up your GorillaPod and taking it on a trip around the world, you absolutely can. It has adjustable legs that you can wrap around poles or railings. It isn’t too heavy, so you can carry it around easily. When setting up, you can position it in tons of different angles too.
Home Video Studio Lighting
A lot of people will overlook the idea of lighting within their studio. It seems unnecessary and something that isn’t up to you, but it is. You want your video to have good lighting and you want your viewers to make a difference between you and the background. All good videos require much more light than the human eye can perceive, so make your home studio as bright as you can.
Home Video Studio Hack: Window
An easy way to get lighting for free is to simply use a large window within your budget home studio. Finding a window that works will greatly depend on where your studio is located. If the window is behind you, it will darken everything between the camera and the window. You don’t want that! So, make sure your window is to your side.
Home Video Studio Hack: Ring Light
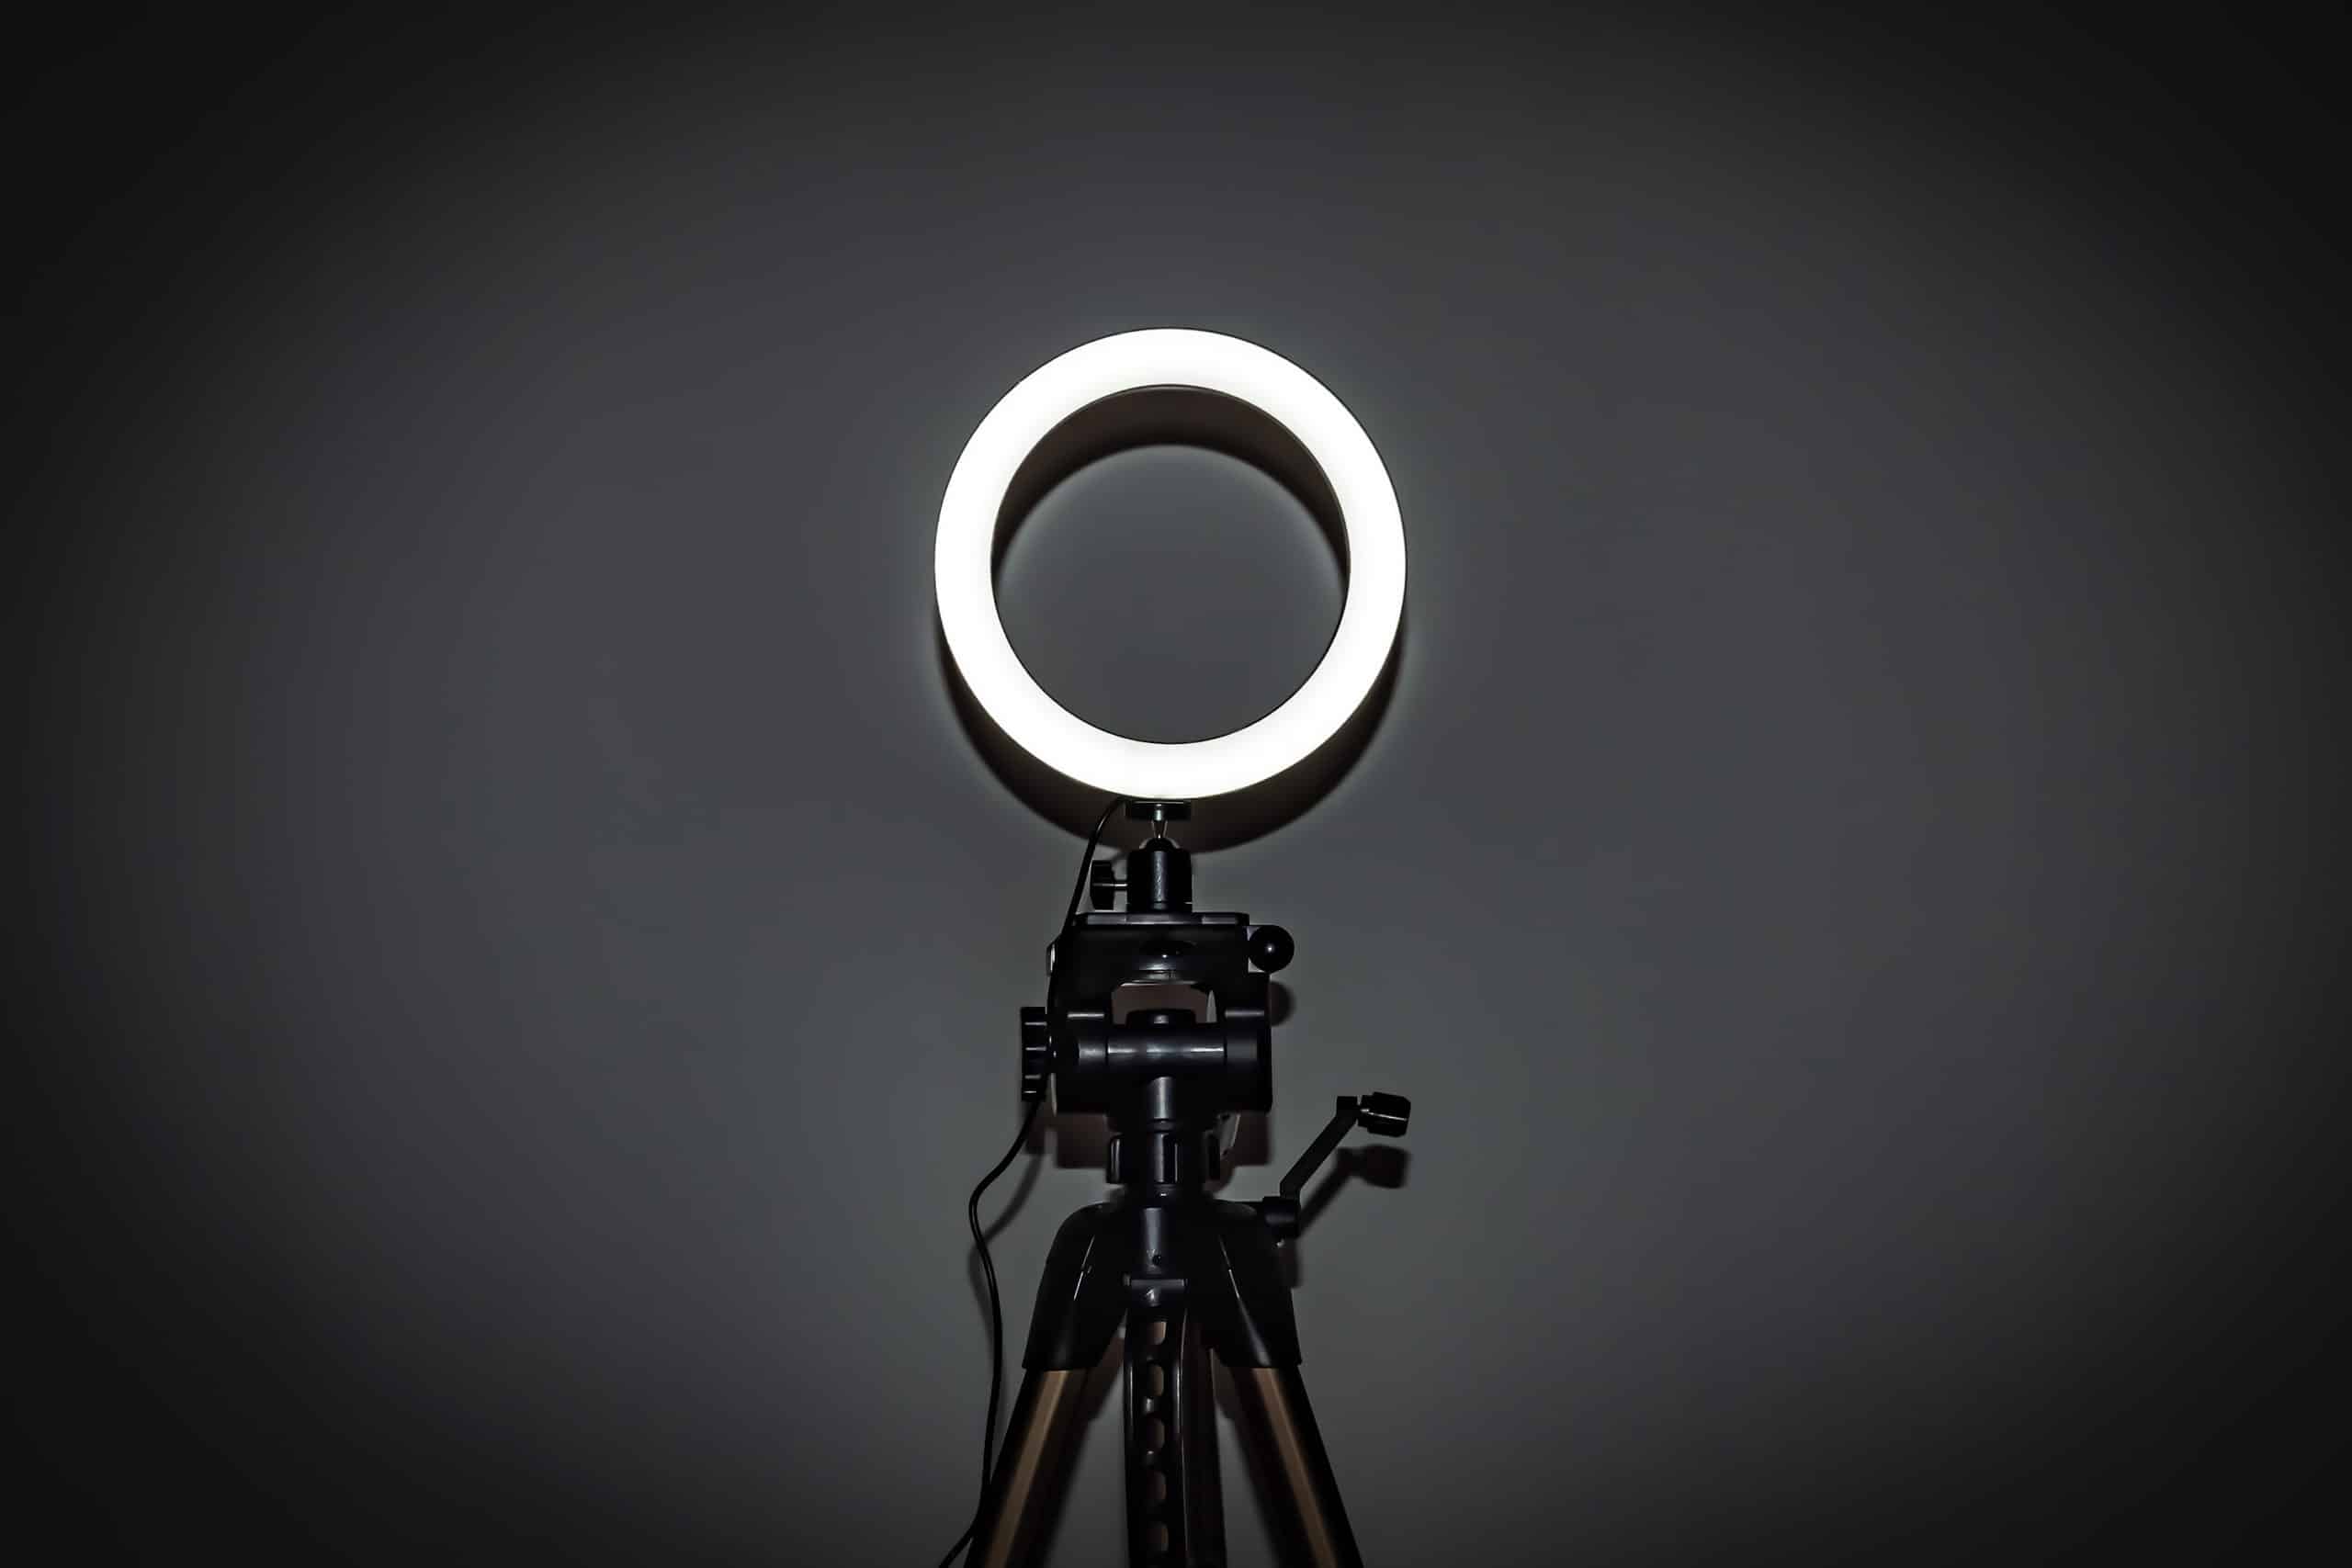
Using a window will serve you best until you’ve saved enough money for something a little more expensive, such as the ring light. Being able to create perfect lighting is a mastery if you ask me.
Finding a good window to serve as your main source of light can prove to be difficult. Your next best option as part of your home video studio equipment would be to buy a good ring light.
If you like the idea of a ring light, get a diva light. It’s pretty cheap like around $20. The thing about ring lights is that they even out the light that falls on you or any desired object, and the LED bulbs give you a wide dimmable range. Ring lights illuminate your eyes and clear out potential skin imperfections, blemishes.
Another thing you can do to save even more money (which is also what I did), is go to home depot and come up with your own lighting kit that’s not going to cost you more than $30. You can get everything a regular lighting kit has – a ring light, a stand, a phone clamp, and a tripod head, plus save money. Crazy, I know!
Home Video Studio Microphones
When figuring out your home video studio setup, you might think that a quality microphone isn’t an absolute necessity and will just cost you more money. But think about it, whenever you’re watching someone else’s videos, you’re more likely to continue watching If the audio is good. Sometimes mics might look unnecessary because they’re small, and you don’t see them a lot, but many people use mics. They are just clipped on to a shirt.
Home Video Studio Hack: Rode Podcaster Microphone

Do your content a favor and get yourself a good microphone. Your budget home studio cannot survive without the Rode Podcaster microphone, which is very popular among YouTubers. The Rode Podcaster mic is a professional broadcast quality dynamic microphone that’s super easy to use.
I used to complain so much about the quality of my audio until I got Rode Podcaster. It solved the background noise and made my voice crystal clear when talking. That’s one of the most important things when making a video or a podcast – good quality audio. You want people to digest the content smoothly, not to struggle while listening to your voice. That’s a painful experience.
I use Rode Podcaster all the time. I mean, if you see a picture of me, chances are it will probably be with the mic in front of me. It broadcasts quality sound and rejects background noise, but wait until you hear the best part – it minimizes plosives (p, b, and t sounds) and has a 10-year warranty. Oh, and it works on all devices.
Home Video Studio Hack: smartLav Clip-On Microphone

This clip-on mic is a discrete 4.5mm mic that’s compatible with both iOS and Android. Additionally, smartLav has a foam pop shield to prevent plosives and wind noise, which is great. It’s small and practical, so it won’t bother you while making your videos; you won’t even notice it’s there.
Choosing a Software
The last thing on your home video studio setup list is the editing software. It’s the final touch. There are a lot of editing software apps out there and far too many to count. You can always opt for free software that will get you to a certain point, especially if your editing doesn’t require many after-effects.
You probably know that YouTube has software that you can use. Yeah, it works, and you can get by with it, but it doesn’t look super professional. There are a lot of things you can’t do with YouTube’s software and it’s pretty limiting when you want your broadcasts to look good. YouTube’s software is only good for cutting your video up and sowing it back together again.
If you want to be off to a really good start, your home video editing studio needs a little more than that.
ScreenFlow

If you have a Mac, then you want ScreenFlow for your home video editing studio. It’s a little more expensive, but it’s totally worth it. The basic program is $129.
Thanks to ScreenFlow’s editing interface, you can capture the best quality screen recordings and make your tutorials, demos, presentations, and training professionally. It stretches from beginner’s level to a more professional one, so you can stay with ScreenFlow and basically mark your progress because it offers plenty of possibilities both for pros and beginners.
ScreenFlow supports AudioUnit Plugins and multichannel audio. Their robust interface allows you professional animations and motion graphics.
You can upload your recordings to YouTube, Facebook, Google Drive or Dropbox, or export them as animated GIFs, MP4, or ProRes files.
Want to get more blog subscribers and build your fan base? Download my free guide "Get Your First 100 Fans" Click here to get the guide.
Camtasia

If you want to feel confident and engage your viewers, Camtasia is another one of your options for your home video studio. It works on Windows and it’s great for beginners. You don’t have to have a set of skills in your sleeve right away – you can just start with a template.
Camtasia offers a free trial, but after that, the monthly pricing is $249.
Loom

The fun part about Loom is that it enables time travel. With Loom you can conduct a meeting, a demo, a training, you can teach your viewers and you don’t even have to leave the comfort of your home.
Loom allows recording your screen easily, so if you are an educator or if you want to show or teach your viewers something quickly, you can absolutely use Loom.
You don’t need a camera and it’s free!
Movie Maker Pro

Movie Maker Pro is an amazing software that is great for beginners. It has a free version with enough stuff on it to keep you going strong until you get more views and need something more high-tech. The only setback is it does not work on Windows 10 computers, but it works on macOS and other Windows.
Movie Maker Pro offers tools such as trimming, splitting, rotating, cropping, joining, overlaying, converting, muting, extracting music, and the slow-motion effect, available at different speeds.
Setting Home Video Background

It’s a home video studio. Use a wall in one of your rooms or use the background of the room to give your viewers more info about you. I used my garden.
People stream, film, and edit from their bedrooms. You can do it too.
Your backdrop is a way of expressing yourself and making your channel unique. Thousands of YouTubers use the same home video studio setup: the same type of mic or tripod, but only you have your specific setup for your background. You are the only one who uses that fancy poster of your favorite band or those 80s memorabilia. Everyone’s background should show some character, it should be unique. Create the backdrop you want to see when watching others’ content.
Once you have found a space where you want to position your home video studio setup, find out how the camera will be angled and where it will be positioned. If you are using natural light from a window, you have to record a few times to see what setting works best for the lighting.
After establishing the camera position, you can start working on your background. Depending on what type of content you are making, a table you can work on will come in handy. It has to be positioned in such a way that the camera has a clear view of what you will be doing. Make sure the table is not shiny or reflective when the camera is recording. The last thing you want is a glare preventing your viewers from seeing the table. Hence, a painted surface or a wooden table should be your go-to option.
How Do I Make My Own Home Video Studio Background?
You might want a pillow or a blanket to decorate your couch. Make sure they really stand out and are not worn out or plain simple. Also, a rug for the floor would make your room look tidy, and a poster or picture on the wall will bring it all together. You can always add your own flair with a side table with some of your stuff on it.
To spice things up, you can create something yourself if you are dexterous, or you can create a mural or some painting to put on the wall behind you. You like cubism? Sure, put it on the wall behind you. Show some style. Show authority. While talking, you can grab an interesting, eye-catching mug or thermos to stand beside you on your table and sort of put the cherry on top. You want a background that’s alluring and eye-catching, but neat and organized. Sometimes, there is no better marketing than your personal preference.
For example, for the purpose of my home studio background, I bought 2 by 2 meters, felt in purple and dark blue, and I duct-taped it to my wall in my mum’s basement. You don’t have to spend a fortune to record with a solid background, you just have to be creative.
There are a lot of styles out there that can serve as an inspiration for your backdrop. If you’re struggling to find your design, use some of your favorite YouTubers as references.
Home Video Studio – Pro Tips
It means investing in your dreams. Becoming a famous YouTuber from home is possible – just make sure you have the basics, you need to have a proper set like a decent camera, a tripod, a microphone, a good editing software, proper lighting, and a neatly captivating backdrop.
Audio is more important than video; it’s no wonder microphones have all these shields that prevent noises and plosive sounds and whatnot. It’s because people can stand a shaking camera, an unsteady movement, but bad audio? No way. People are out of there. They are gone. No one wants to get a splitting headache for no reason. Investing in a good microphone is never a bad idea.
When starting something new, you aren’t as prepared as you should be. You may get discouraged because you don’t have a professional studio or you may rush into buying something you don’t really need, which is why I’ve put this guide for you. Now you know. Once you take care of the equipment, you can worry about gaining an audience.
Quality over quantity, remember. Audio over video. There’s no better marketing for that. Start with the cheapest variants using your smartphone or going to home depot and getting everything you need, and then upgrade as you get the skills, the experience, and the viewers. Start with simpler editing software, but then you can switch to ScreenFlow or Camtasia to make your content more professional.
If you have the passion and the zeal; if you can produce some quality content, what difference does it make whether you work from a fancy studio or from a home video studio? At the end of the day, you made that studio by yourself; you invested every penny in it, and you should be proud.
Have you made your first video? Post the link in the comment section below so I can review it.
Want to get more blog subscribers and build your fan base? Download my free guide "Get Your First 100 Fans" Click here to get the guide.


