How to Edit a YouTube Video – A Beginners’ Guide
Whether you want to become a professional YouTuber or to promote your products or services on YouTube videos, you need to know how to edit them if you want them to succeed. However, many are hesitant to learn how to edit YouTube videos because they think it’s too complex and overwhelming for them.
Regardless of that, you can’t afford to not edit them, so the best you can do is look for the simplest way to edit videos for YouTube.
We are here to help you with that! Read this page if you want to know how to edit YouTube videos without being an editing expert.
You can also find some of the best programs you can use to edit YouTube videos, so you can go for the one that best suits your editing style or skill level at editing. Nonetheless, the method we are going to explain in this article uses the YouTube Editor tool.
What Programs Can I Use to Edit YouTube Videos?
As we mentioned, you can use several editing programs or apps to edit YouTube videos, all of which focus on different things. Naturally, not all video editing software online is free, so you may need to pay a subscription to use some of them.
Maybe you can’t afford to use the best video editing software out there, but you are good to go with one that gives you all the features you need for your videos. Many video editing apps have free and premium versions, so it’s up to you to pick the one you like best.
Paid Apps
These are some of the best paid apps for editing YouTube videos:
Sony Vegas Pro

Sony Vegas Pro is one of the best options you have when starting your YouTube channel if you are willing to pay some money for an app that allows you to edit YouTube videos without being an expert at it.
Firstly, Vegas’ rendering is better than the one from other apps such as After Effects, and its audio editing features are also decent enough for you to edit a full video clip or put background music on your content.
This app for editing YouTube videos also has an enhanced interface that allows you to easily check your video timeline without getting lost along the process. Authoring Blu-ray discs and DVDs is also possible with this software, but you may not need that if you want to edit videos for YouTube.
If you want to try Sony Vegas Pro, you can use its 30-day trial to see if it suits your needs. You can edit one YouTube video during that time to test what the video editor can do and then buy it.
Adobe Premiere Pro

The main appeal of working with Adobe Premiere Pro video editor is you can comfortably work on several projects at the same time, which saves people who want to edit more than one video a lot of time. This is something people usually can’t do on a free video editor.
Working with Adobe Premiere Pro is also helpful if you want to use multiple file formats since the app supports many of them. There’s also immersive VR support, and since VR becomes more trendy each day, it may be something to look into in the future.
Final Cut Pro X

Getting to the last app for the last paid video editor, we have Final Cut Pro X. Do you want your edited video to have a different set of colors than the average YouTube video? This is the app for you since its color grading is off-the-charts.
As Adobe Premiere Pro does, Final Cut X also offers VR features. Regardless of that, its impeccable sound is still one of its greatest strengths since it allows you to edit high-quality videos that also sound professional with just a few clicks.
Editing videos with Final Cut Pro X doesn’t take that much time from you, either.
Free Apps
Now that we’ve covered the apps that allow you to edit your videos after paying a membership or buying them directly, it’s time for free apps to take the scene. They offer simpler features but are still decent for the job.
Movie Maker
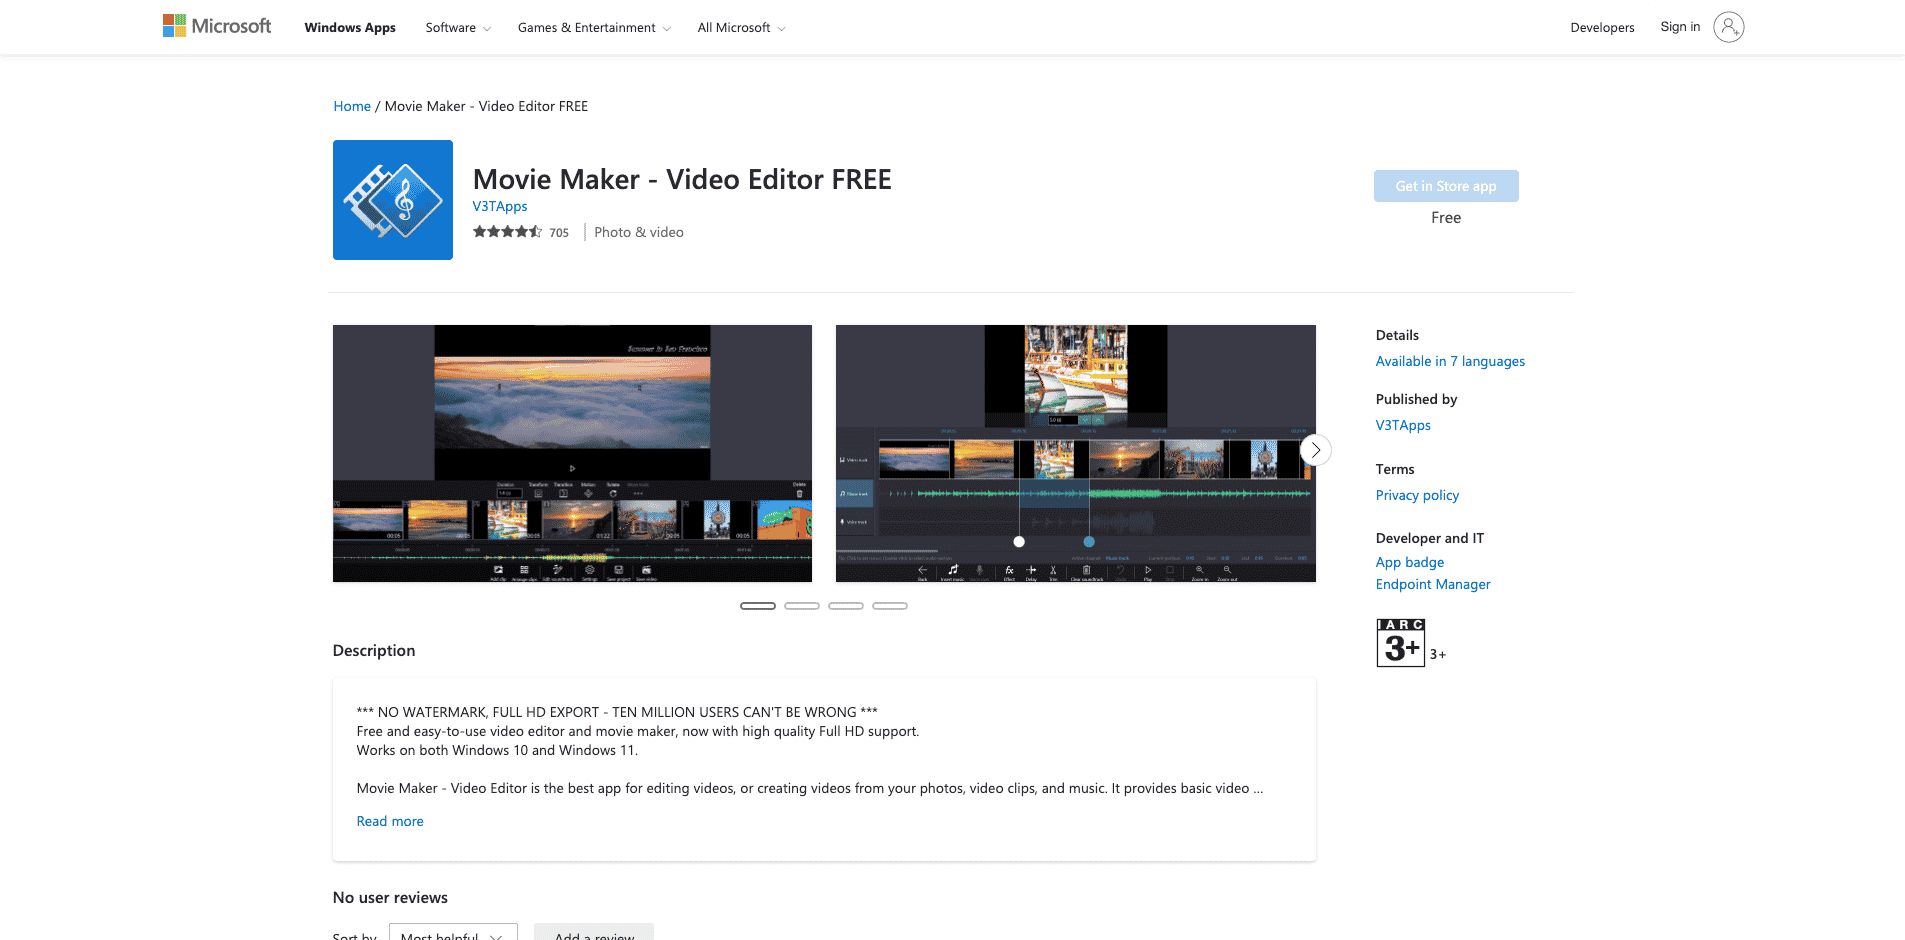
Movie Maker is one of the most popular options among people looking forward to editing a video file without putting that much effort into it. This app is good enough for the basics of editing videos, so you can easily put background music on your videos or add different titles and sound effects to them.
YouTube Editor

As we mentioned before, we are going to use the editor the YouTube app provides you with to tell you how to edit video content on this page. While not having all the features other paid options offer, YouTube Studio lets you trim your videos, remove any unnecessary content from them, add filters, slow motion, music, or anything you want in your videos.
YouTube Studio is not a photos app or something of the sort but rather an option that makes editing simple videos and titles easier for everyone. We recommend you use it if you don’t need to edit anything too complex in your content.
How to Edit a YouTube Video with YouTube Video Editor
Now that you have many options to choose from when editing YouTube videos, it’s time to learn how to do it with YouTube Studio. Remember this app only allows you to do the basics of editing, so don’t expect anything too technical or complex when you start editing with it.
#1 Sign In to YouTube Studio
The first step to starting to use this app is to sign up for it either through the YouTube app or on Google. Doing it doesn’t take that much time from you since you only need to add your email address and password. This editor automatically links with your YouTube account if you have one.
#2 Pick the Video You Want to Edit

Go to YouTube Studio and click its left sidebar. When you do that, the app will show the dashboard, content, playlists, analytics, comments, subtitles, Copyright, and monetization buttons; you want to focus on the content button, so click it.
Doing this will take you to the Channel content tab, which shows the videos on your computer that are compatible with the formats supported by this app. Regardless of that, YouTube recommends you go for an MP4 one, and we do, too.
Once there, you need to pick the video you want to edit and click the “Editor” button. That will take you to the actual video editor and show you the video timeline. It’s best if you know how to use the app before logging into it since it can be overwhelming if you don’t know that much about editing.
#3 Start Trimming Your Video
If you simply want to trim videos on the YouTube editor, this is your moment. Trimming videos has never been easier since you only need to click the trim button and trim the beginning and end of your video as you would trim a picture or video on a photos app.
You can also trim clips out of the middle of your video if you want to. Remember to click save when finishing what you wanted to trim.
#4 Add Music or Other Effects

Do you want to add any music to your video? YouTube Studio also allows you to do it, and the only thing you need to do is click the music bottom and the part of your timeline where you want the music to be.
Making the music clip shorter or longer only takes a few clicks, so don’t worry about getting lost along the process. There’s also a camera icon that allows you to add an end screen to your video. As it happens with music, there are some end screen templates in the app if you ever want to use them.
Conclusion – Edit Videos with YouTube Studio!
Editing your videos with YouTube Studio is an excellent idea as long as you don’t need anything more than just trimming clips, adding music, and some other effects. If you want anything more complex than that, we recommend you go for another alternative.
Remember this is not an average photos app, so you should take some time to check out its features and see how you can take the most advantage you can of them.